Memory bear pattern: how to make a keepsake bear from clothes
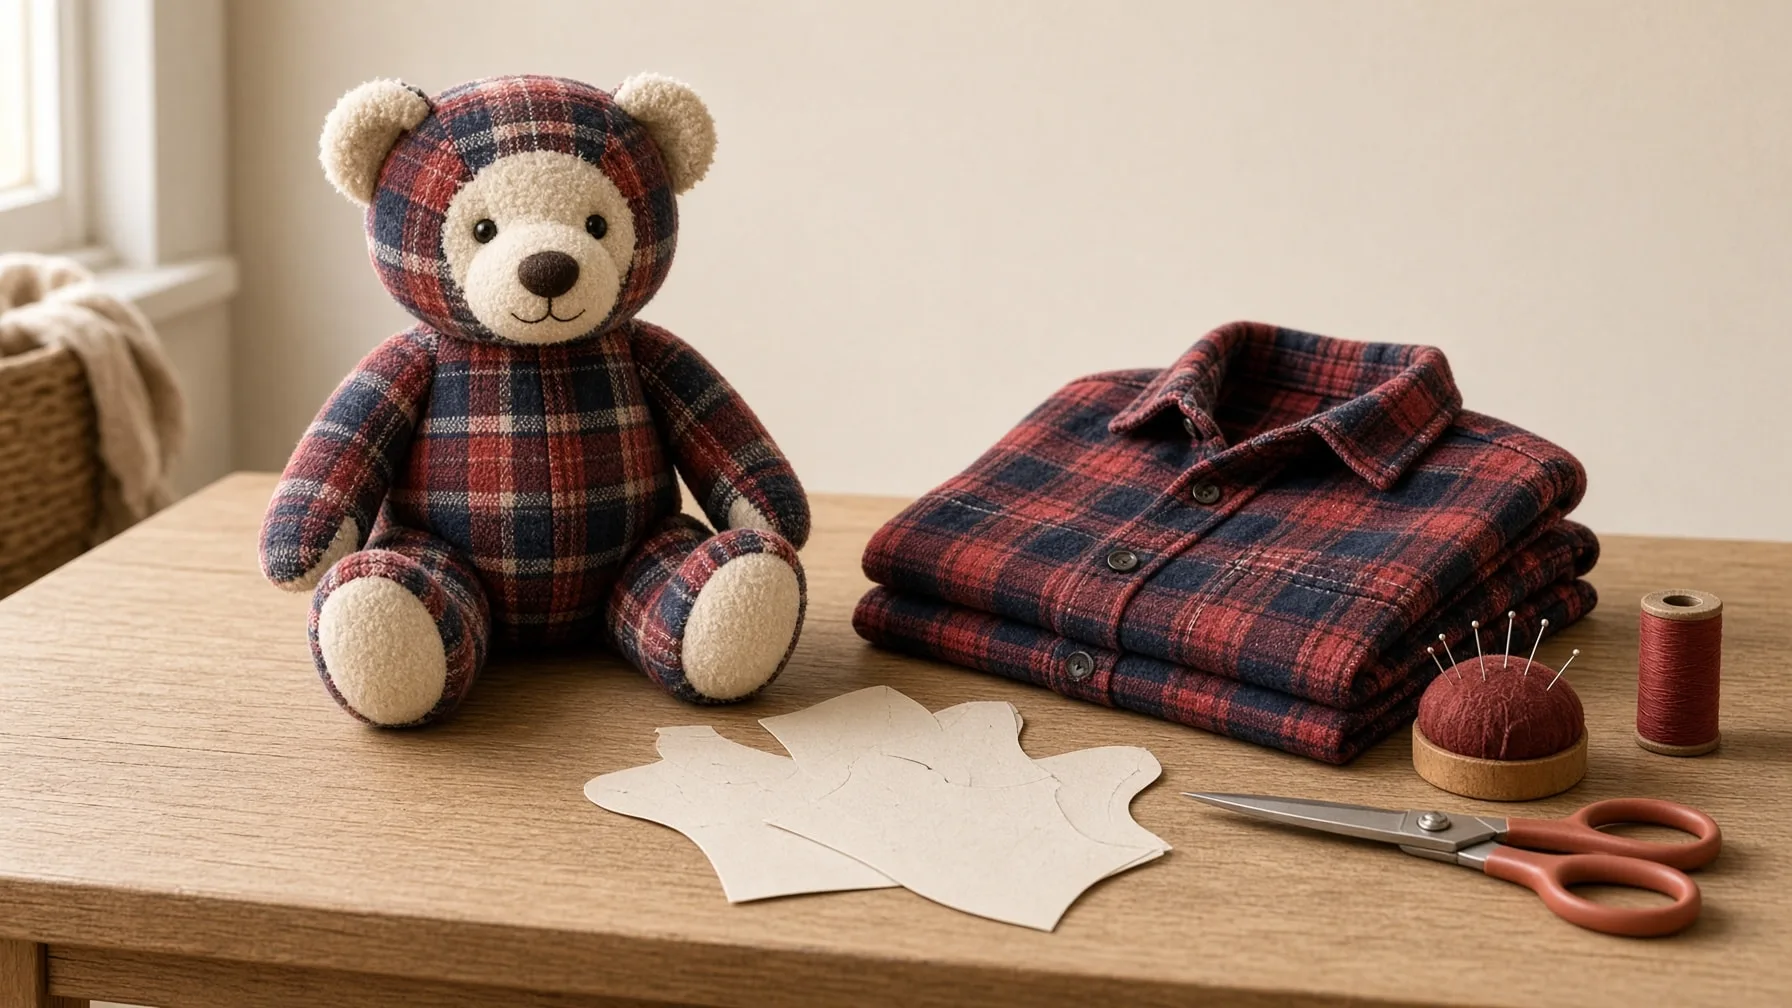
A memory bear is a stuffed bear sewn from someone’s clothing, often a parent’s shirt or a baby’s first outfits, so the fabric itself becomes the keepsake. To make one you need a sewn bear pattern, enough of the garment to cut every piece, and for stretchy clothes a lightweight fusible interfacing that stops the fabric stretching while you sew.
What a memory bear pattern gives you
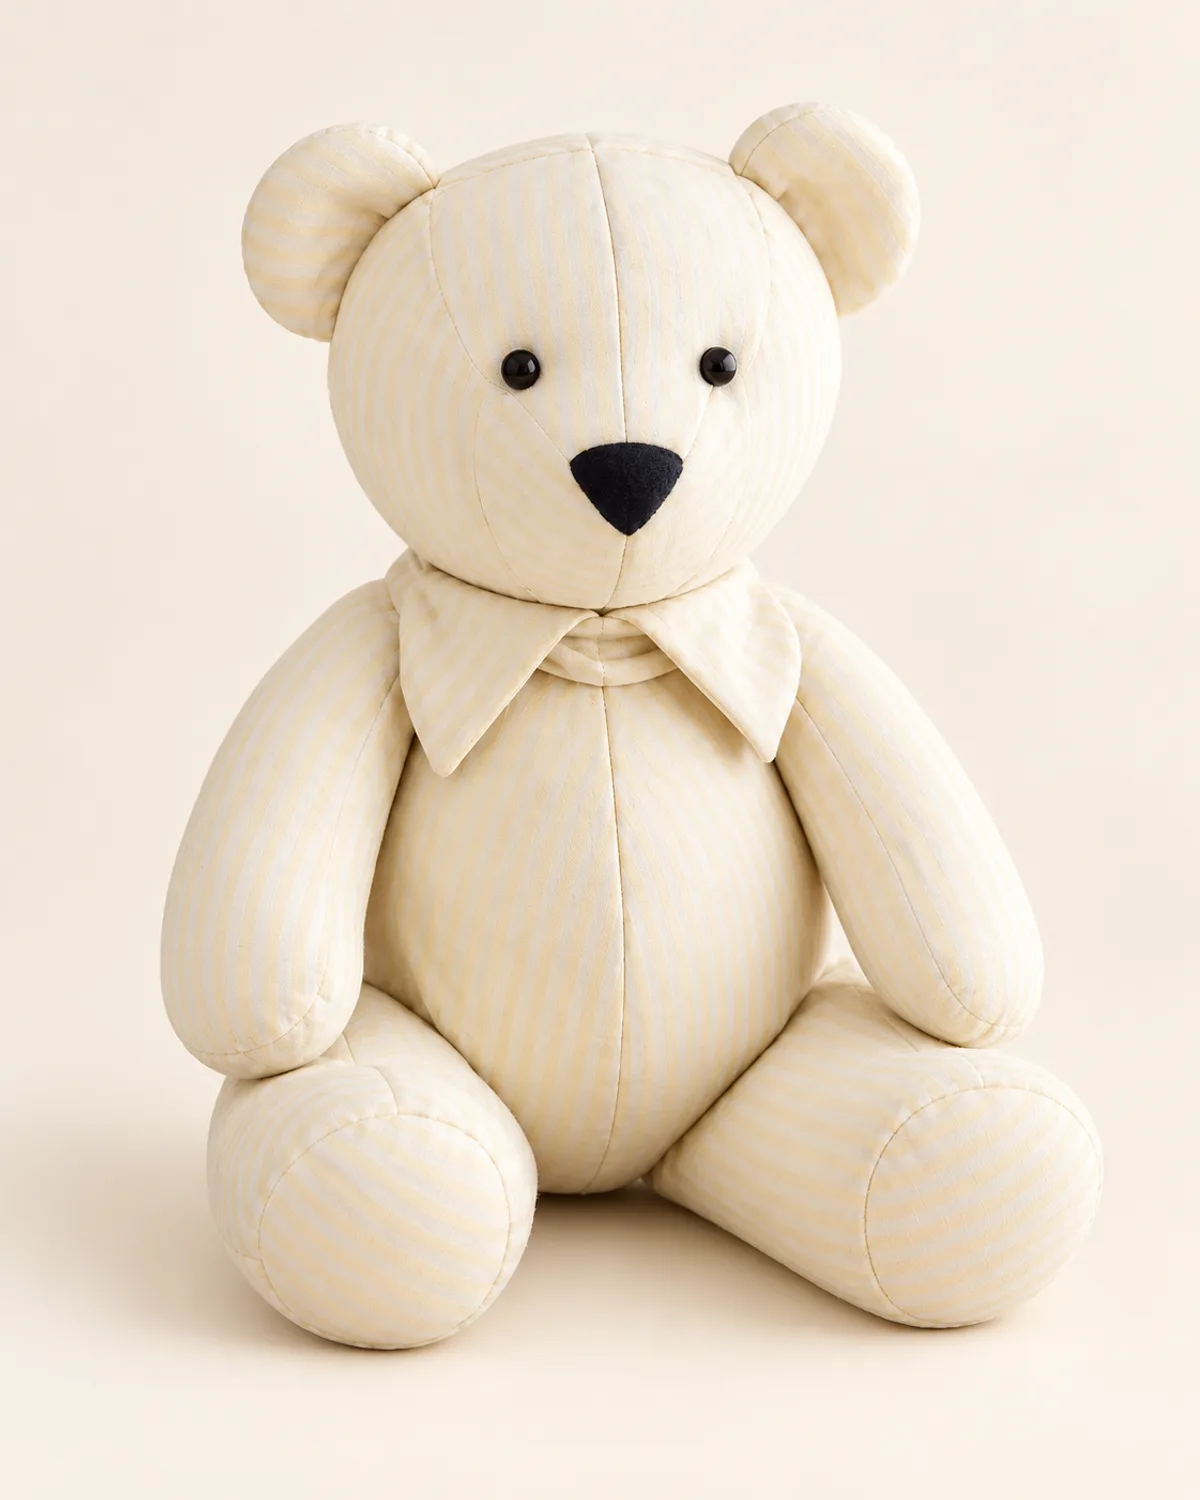
A memory bear pattern is a set of paper pieces (head, body, arms, legs, ears and usually a muzzle) plus the steps to put them together. The pieces carry their grain lines and the marks you match when you sew, and the instructions tell you how much seam allowance is included and in what order the seams go.
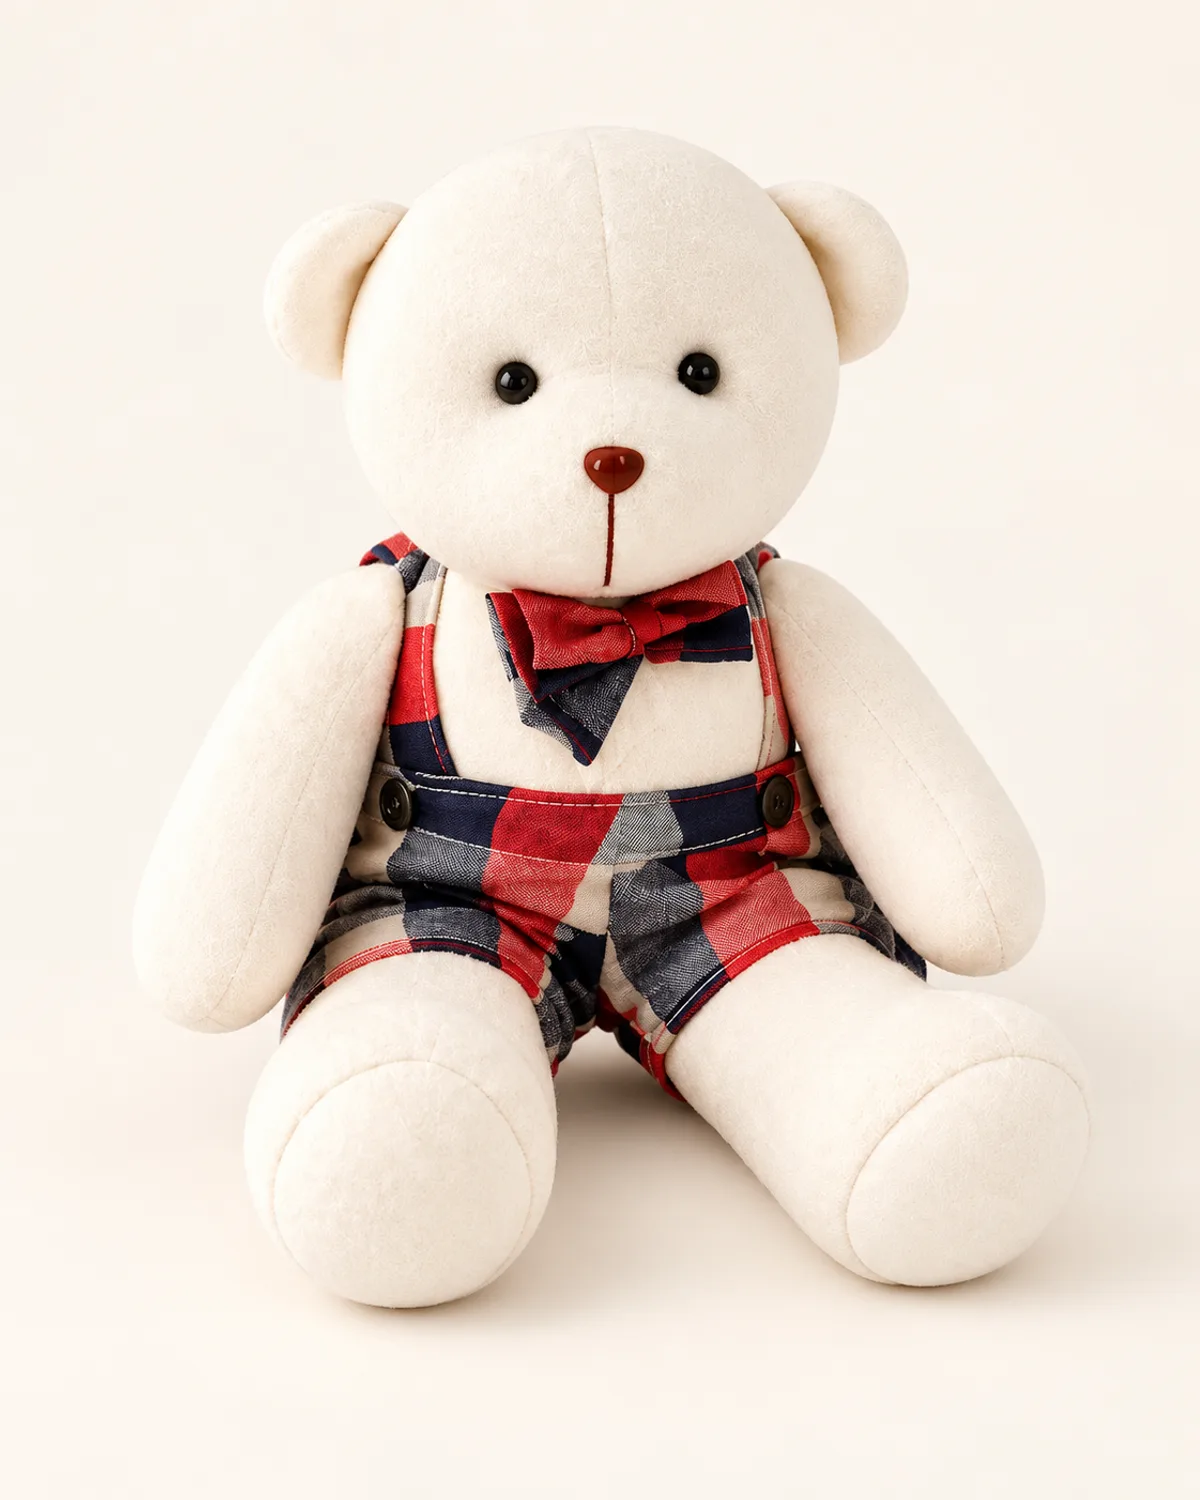
Our sewing patterns include two. The Classic Memory Bear has rounded ears, a shaped muzzle and soft limbs. The Keepsake Memory Bear in Overalls wears a pair of overalls, which is a lovely way to use a second garment, say a pair of jeans next to a favorite shirt. Check the listing of whichever you choose for its finished size and fabric amounts before you start cutting anything.
Choosing the clothes
Woven fabrics behave best. Cotton shirts, flannel, chambray and lightweight denim cut cleanly and press flat, so a first memory bear from a button shirt is the easy road.
Knits are trickier. T-shirts, sweatshirts, sweaters and baby onesies stretch as you sew, and a stretched seam gives you a lumpy, lopsided bear. Fuse a lightweight interfacing to the back of the knit first and it will cut and sew almost like a woven.
Very thick fabrics, such as a wool coat, make small pieces bulky and hard to turn, so keep them for the body and use something thinner for the ears and muzzle. Delicate ones, silk ties or lace, look beautiful as accents; back them with interfacing and use them for paw pads or the inner ears.
Have a contrast in mind as well. A plain fabric for the muzzle and paw pads, such as cream fleece, makes the face read clearly, and it saves the special fabric for the parts people see first.
Getting the fabric ready
If the clothes are clean, you can skip washing them. Some people want the shirt exactly as it was, smell and all, and pressing is enough. If they do need a wash, wash and dry them before you cut, so nothing shrinks after the bear is finished.
Cut the garment apart along its seams to get flat panels to work with, and press every panel. Then decide on the details you want to keep. A breast pocket makes a sweet tummy patch, and a monogram or a little embroidery can sit on a paw. Buttons are the one detail to think twice about: for a baby’s bear, leave them off or stitch them down very securely.
For knits and delicate fabrics, apply the interfacing now, glue side to the wrong side of the fabric. Press with the iron and lift it; sliding it back and forth stretches the fabric you are trying to stabilize.
Cutting the pieces
Lay each paper piece with its grain line arrow parallel to the fabric’s straight grain. On a shirt that means following the threads that run down the front, and on plaid, following the lines of the check.
Most pieces are cut in mirror pairs, a left and a right. Either cut through two layers at once, or cut one, then flip the paper piece over before cutting the second. Plaids and stripes need a bit more care: line them up at the side seams so the pattern runs around the bear without a jump.
Making several bears from one person’s clothes, say one for each grandchild? Cut the pieces for all of them before you sew any, so the best parts of each shirt are shared out fairly.
Sewing and stuffing
Use a shorter stitch than usual, around 2 mm, because short stitches turn the tight curves of ears and paws more smoothly and hold better when the bear is stuffed. Sew slowly on the curves, then clip into the seam allowance around them (without cutting the stitches) so they lie smooth once turned.
Turn each part right side out through its opening and push the seams out fully with a chopstick or a turning tool. Stuff in small pieces of polyester fiberfill rather than big handfuls, starting with the farthest points such as the nose and the tips of the paws. Firm stuffing gives a bear that sits up and keeps its shape; soft stuffing gives a cuddlier, floppier bear, so pick the one that suits who it’s for.
Close the openings with a ladder stitch, a hand stitch that runs between the two folded edges and disappears when you pull it tight.
Eyes and nose for a child’s bear
For babies and children under 3, embroider the eyes and nose instead of using safety eyes or buttons, and sew every part on firmly. Small parts that come loose are a choking hazard, and an embroidered face can’t come off.
For an older child or a bear that will sit on a shelf, safety eyes with locking washers are fine, and they give the face a little shine. Fit them before you stuff the head, because the washer goes on from the inside.
If the bear is for someone grieving, the face is the part to take your time over. Sew it last, look at it from across the room, and redo a stitch if the expression is not quite right; it’s the first thing they will see.